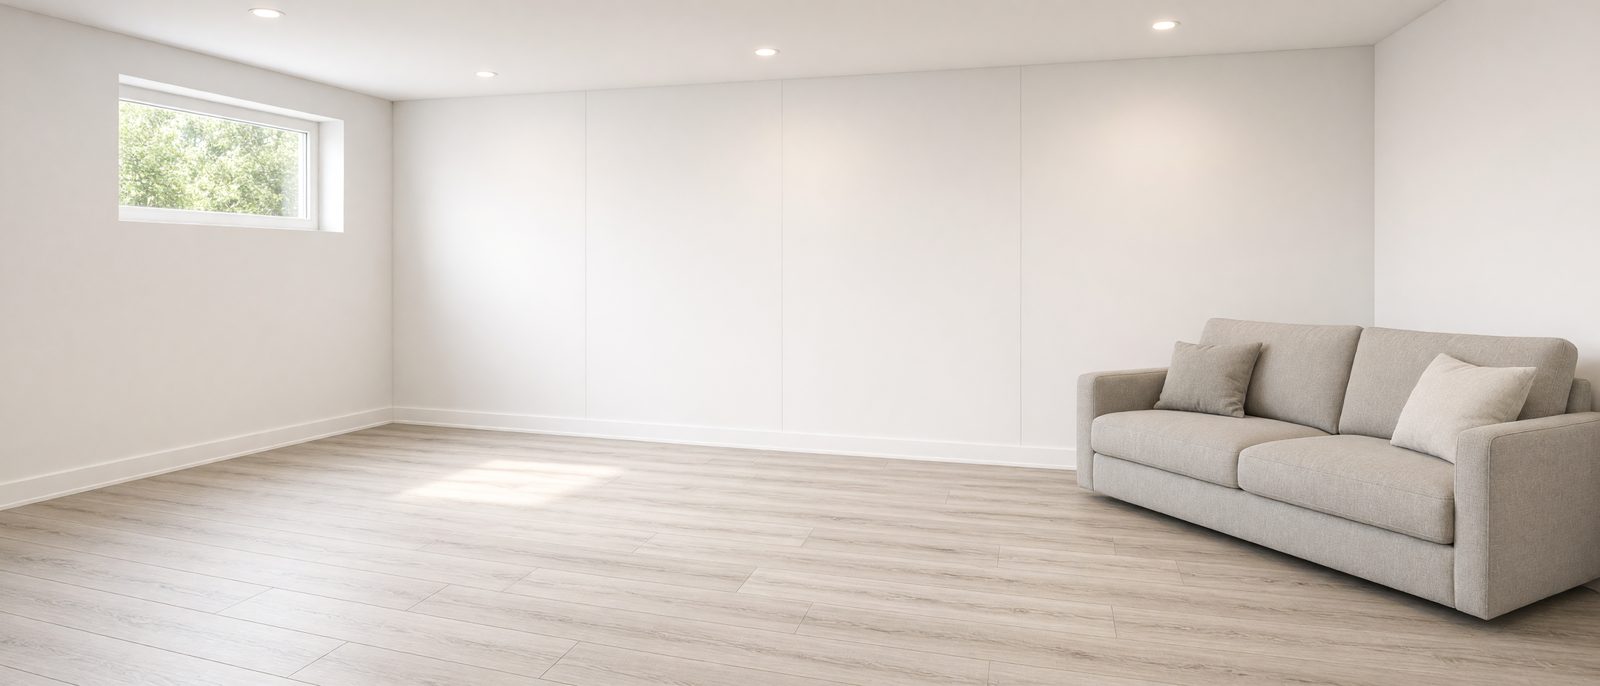
At iFixBasements, basement finishing happens in three phases, and you can stop after any of them. Phase 1, which is required, makes the basement dry and structurally sound; Phase 2 adds insulated walls, a floor built for damp concrete, a ceiling and lighting; Phase 3 is the design and build.
I personally inspect and design the fix; a licensed & insured certified dealer crew installs it. The estimate is free, and no-money-down financing is available.
Most people picture a finished basement as a room. I picture it as a list of things that tend to go wrong down there: walls that hold moisture, moisture coming up through the slab, a floor that’s cold all winter, air that’s damp all summer, and a ceiling full of pipes and joists. Get those right and the space is one you’ll actually use. Skip them and you’ll be tearing the new work out in a few years.
Why a basement isn’t just another room
- Walls. Wood, drywall, and fiberglass against concrete hold moisture and can feed mold.
- Vapor. A concrete slab gives off moisture all year, and anything made of wood or paper will soak it up.
- A cold slab. Bare concrete stays cold, and that cold travels up into the floors above.
- Drafts. Warm air leaves the top of the house and pulls cold air in at the bottom, right through old basement windows.
- Water. One leak, a failed pump, or a wet spring can ruin anything that wasn’t built to get wet.
A finished basement in three phases
Every finishing job I do runs in the same three phases. Each phase builds on the one before it, so Phase 1 is required for everything, and Phase 2 comes before Phase 3. You can stop after any of them. All of it follows the latest in building science, with one goal: you never have to tear this basement apart again.
Phase 1 — Ready for finishing: structure, water, humidity and air
This phase takes care of anything structural and controls the water, the humidity, and the air. Nothing gets built on a basement that is moving or wet, so this is where every job starts. It’s also the basic requirement every basement should meet, finished or not: no water, no humidity, no mold risk, air you can breathe easy in. Many homeowners stop right here and simply have a healthy basement. It’s the same work I describe below under “Dry it first” and on my foundation repair page.
- Structural repairs and supports — cracked or bowing walls, sagging floors, beams and columns
- Waterproofing
- Vapor barriers
- Dehumidification and air quality control
Phase 2 — Halfway to finished
This phase gives you the feel of a finished basement without the studs, sheetrock, concrete board, moldings, electrical rough-in, and heating. It’s for two kinds of homeowners: the ones who want a nice space but don’t have the budget for the full build yet, and the ones who want to live in the space for a while and see how it works for them before committing to slicing it up into rooms, bathrooms, and kitchenettes. It leaves an open-concept space, and many homeowners just leave it like that: nice floor, nice ceiling, nice lighting, bright insulated walls. Everything in Phase 2 stays when you go on to Phase 3.
- An insulation package on the walls: insulated wall panels with a bright white finish
- A finished floor
- A painted ceiling
- An electrical and lighting package on the ceiling
Phase 3 — Design and build
This is the full finish: the walls, the rooms, the trim, and the heating. You can design-build it with me, or take the Phase 2 space to any builder you like. Either way, you start from a dry, insulated space with the floor, ceiling, and lighting already done.
- Walls and rooms
- Trim and moldings, and a drop ceiling if you want one
- Heating
Which phase you stop at is your call. You don’t have to decide on all three up front. I price each phase on its own, line by line, so you can see exactly what goes into it.
Side by side: what each phase includes
Ready for finishing
Structure, water, humidity & air. Required for everything.
- Structural repairs and supports
- Waterproofing
- Vapor barrier
- Dehumidification and air quality control
What you end up with: a dry, healthy basement with clean air, ready to finish whenever you are.
Halfway to finished
Everything from Phase 1, plus:
- Insulated wall panels, bright white finish
- Finished floor
- Painted ceiling
- Electrical and lighting package
What you end up with: a bright, open space you can live in before you commit to the full build.
Design & build
Everything from Phases 1 & 2, plus:
- Framed walls and rooms
- Finished walls (sheetrock or concrete board)
- Trim and moldings
- Drop ceiling, if you want one
- Heating
- Design-build with me or any builder
What you end up with: finished living space, built with me or any builder.
| What’s included | Phase 1Ready for finishingStructure, water, humidity & air | Phase 2Halfway to finishedEverything in Phase 1, plus | Phase 3Design & buildEverything in Phases 1 & 2, plus |
|---|---|---|---|
| Added in Phase 1 | |||
| Structural repairs and supports | ✓ | ✓ | ✓ |
| Waterproofing | ✓ | ✓ | ✓ |
| Vapor barrier | ✓ | ✓ | ✓ |
| Dehumidification and air quality control | ✓ | ✓ | ✓ |
| Added in Phase 2 | |||
| Insulated wall panels, bright white finish | — | ✓ | ✓ |
| Finished floor | — | ✓ | ✓ |
| Painted ceiling | — | ✓ | ✓ |
| Electrical and lighting package | — | ✓ | ✓ |
| Added in Phase 3 | |||
| Framed walls and rooms | — | — | ✓ |
| Finished walls (sheetrock or concrete board) | — | — | ✓ |
| Trim and moldings | — | — | ✓ |
| Drop ceiling, if you want one | — | — | ✓ |
| Heating | — | — | ✓ |
| Design-build with me or any builder | — | — | ✓ |
| What you end up with | A dry, healthy basement with clean air, ready to finish whenever you are | A bright, open space you can live in before you commit to the full build | Finished living space, built with me or any builder |
Cost: every phase is priced line by line at your free estimate, so you see exactly what goes into each one and can take out anything you’d rather do yourself or hand to another contractor. Book your free estimate →
Painted ceiling or drop ceiling?
In Phase 2 I paint the ceiling, and I do that on purpose. A basement ceiling is usually the lowest-clearance part of the house, and it’s where the plumbing, wiring and ductwork live. Paint keeps every inch of headroom and leaves you a way to get at what’s above.
A drop ceiling is a Phase 3 option, and sometimes it’s the right call. If you want a hidden-everything look and you have the height to spare, I’ll price it with you. If you’d rather keep the headroom, the painted ceiling stays and nothing is lost.
| Painted ceiling (Phase 2) | Drop ceiling (Phase 3 option) |
|---|---|
| Headroom: keeps nearly all of it | Headroom: costs you several inches, which matters most in a low basement |
| Access to pipes and wiring: open to the joists, so a plumber or electrician can get to everything, though it means working overhead | Access to pipes and wiring: lift out a tile and you’re in, which is the real advantage |
| Look: clean and modern, with the joists and lines painted out | Look: a flat, uniform ceiling that hides everything above it |
| Sound: a hard surface, so sound bounces | Sound: tiles soften sound inside the room, though they don’t stop footsteps from upstairs |
| Cost driver: prep and paint | Cost driver: the grid, the tiles, and the lighting built into it |
| When it fits: the default. Right for a bright, open Phase 2 space and for anyone with a lower ceiling | When it fits: a Phase 3 choice when you have the height and want the access panels or the uniform look |
Dry it first
Before anything gets finished, I want to know the basement is dry. If water is coming in, that comes first. Finishing over a wet basement only hides the problem. If you have signs of water, start with basement waterproofing, and then come back to this. That, plus any structural work, is Phase 1.
Basement wall system
This is the core of finishing a basement. Foil-faced foam insulation board is fastened to the foundation wall, a steel stud frame goes in front of it, and inorganic panels finish it off. There’s no wood, drywall, or fiberglass, so there’s nothing in the wall for water to ruin or mold to feed on.
See the basement wall system →
Related product pages
Two more pieces that often come up in a finishing job. Each stands on its own and has its own page:
- Basement entrance doors & stairs → A steel bulkhead door and stair system that replaces a rusted or leaking outside entrance as one prefabricated unit.
- Waterproof basement flooring → Wood-look plank with no wood in it, raised off the slab, warmer underfoot, lifts out to dry if there’s ever a leak.
- Egress windows & window wells → A code-size way out for a basement bedroom, with a stone-look or modern window well and drainage planned in.
Five things that decide how a basement gets finished
Moisture and humidity
This one comes first because everything else depends on it. A basement that’s damp in summer or leaks in spring will wreck whatever you put in it. Water control, the vapor barrier, and dehumidification with air quality control are all Phase 1, and I don’t build over a wet basement.
Light and ventilation
Basements feel dark because the windows are small and high. Phase 2 answers that with bright white insulated wall panels and a lighting package on the ceiling, so the room reads as light even with little daylight. Fresh, moving air is handled back in Phase 1 with the air quality control.
Pipes, ducts and columns
Every basement has things in the way: a drain line, a duct run, a steel column holding up the house. I look at what’s there and tell you what can be worked around and what can’t. Columns and beams are structural, so any repair or support is Phase 1. Boxing things in is Phase 3, and I’ll tell you what each one adds.
Low ceilings
Height is the thing you can’t add back. That’s why Phase 2 uses a painted ceiling and slim insulated wall panels: they give up as little room as possible. If the ceiling is low, I’ll say so and we’ll talk through whether a drop ceiling is worth it in Phase 3.
A way out (egress)
If someone is going to sleep or spend time down here, they need a way out. A window someone might need to escape through must stay operable, so I won’t build anything that blocks one. If you want a bedroom, we plan the door, the stairs and that window together in Phase 3 and talk through what the room will need. How egress windows work.
What people do with Phase 3
- Home theater. Phase 3 builds the walls and the dark room; Phase 1 and 2 already gave you a dry space with a finished floor and lighting you can dim.
- Gym. Phase 2’s finished floor and bright walls already work as a workout space, and Phase 3 adds the closed room if you want one.
- Office. A dry, insulated, well-lit space comes from Phases 1 and 2, and Phase 3 gives you a door and a quiet corner.
- Playroom. The dry basement and finished floor are already in place, and Phase 3 adds walls, trim and a space you can close off.
- Guest suite or in-law suite. Phases 1 and 2 give you dry, healthy air and insulated walls; Phase 3 adds framed rooms, heating and the planning for a proper way out.
- Bar or lounge. You start with a dry floor and lighting already done, and Phase 3 builds the walls and the details.
- Laundry and mudroom. Phase 1’s water and humidity control matter most here, and Phase 2’s floor is made for a damp-prone room.
- Hobby or workshop. You get a dry space with lighting and electrical from Phase 2, and Phase 3 closes it in and finishes the walls.
How I handle it
- I look at the whole basement. Moisture, the walls, the slab, the windows, and the entrance.
- I tell you what comes first. If water has to be dealt with before anything else, I say so plainly.
- A dealer crew installs it. I personally inspect and design the fix, then a licensed & insured certified dealer crew installs it.
My name and my reputation are on every job, so I’m not walking away after a proposal; I’m involved in making sure it’s done right.
Why homeowners call me
I’ve been doing this long enough to have over 100 five-star Google reviews from people in exactly this situation, and I share a lot of real basement footage — the good, the bad, and the genuinely gross — with about 10,000 followers on Instagram (@ifixbasements) so you can see what these spaces actually look like, not just stock photos.
What homeowners say
Stone was extremely thorough and demonstrated his expertise. A good reminder to start at the bottom of the house and work your way up before doing major construction.
Bryan B. · Google review
Stone was very educated on his product. He was thorough and prepared. He explained, demonstrated, and provided all the information we needed at the consultation. He was on time, personable, neatly dressed, and well spoken. I appreciated his attention to detail and the way he personalized my needs.
Renee A. · Google review
Stone was extremely thorough, informative, and helpful in his presentation. He used charts and graphs to make it understandable. He made us realize our basement — and our entire home — would be safe and healthy.
Yael P. · Google review
Where I work
I estimate jobs throughout New York — all five NYC boroughs, Long Island (Nassau and Suffolk), Westchester, Putnam, Rockland, Orange, Ulster, Dutchess, Sullivan, Greene, and Columbia Counties — plus northern and central New Jersey (down through Mercer and Monmouth Counties) and Wayne and Pike Counties in Pennsylvania. See the service-area map →
Straight Answers
Frequently asked questions
What are the three phases of finishing a basement?
Phase 1 gets the basement ready for finishing: structural repairs and supports if they’re needed, waterproofing, vapor barriers, dehumidification, and air quality control. Phase 2 takes it halfway to finished: insulated wall panels with a bright white finish, a finished floor, a painted ceiling, and an electrical and lighting package, leaving you an open, usable space. Phase 3 is design and build: framed rooms, finished walls, trim, heating, and everything else that turns it into living space.
Do I have to do all three phases?
No. Each phase builds on the one before it, so Phase 1 is required for everything and Phase 2 comes before Phase 3, but you can stop after any of them. Plenty of homeowners stop at Phase 1 and simply have a healthy basement, or stop at Phase 2 and pick up Phase 3 later, when the budget or the timing is right. Nothing in an earlier phase has to be torn out to do the next one.
Do I need to waterproof before I finish my basement?
If there’s any sign of water or humidity, yes. Finishing over a wet or damp basement hides the problem and sets up the next one: mold behind the walls, a buckled floor, a musty smell you can’t find. I look at how water and humidity are behaving first and tell you plainly what has to be handled before anything goes on the walls. That’s what Phase 1 is for.
Why is Phase 2 a good stopping point?
After Phase 2 you have a dry, bright, open space: insulated white walls, a finished floor, a painted ceiling, and lighting. It works right away as a playroom, gym, office, or clean storage, and it’s a sensible place to pause if you have budget constraints. When you’re ready for Phase 3, you build on top of it.
What products do you use to finish a basement?
Materials built for below grade, not the ones made for upstairs: a basement wall system of foam, steel, and inorganic panels (no wood, drywall, or fiberglass), waterproof wood-look plank flooring, and a steel bulkhead door and stair system if the outside entrance needs replacing. Each one stands on its own. Some homeowners only need new walls, a floor, or a door.
Can I do Phase 3 with my own contractor?
Yes. Phases 1 and 2 leave the basement ready for any builder. Design and build it with me or with anyone you trust. Either way you start from a dry, insulated, open space instead of a damp concrete box.
What drives the cost of a basement finishing project?
Which phase you stop at, the size of the space, the condition of the slab and walls, and the number and size of the windows or the entrance opening. I don’t throw a number at you. I inspect the basement, explain what I find and why, ask what you want to fix, and price every line with you so you can see exactly what goes into each phase. Take out anything you’d rather do yourself or hand to another trusted contractor. The estimate is free, and no-money-down financing is available.
Is the work covered by a warranty?
Yes. The wall system, flooring, and the other products I install carry the manufacturer’s written warranties, and those come with the job. The terms differ by product, so I go over exactly what’s covered, and for how long, at your estimate.
Who installs it?
I personally inspect and design the project, then a licensed & insured certified dealer crew installs it.